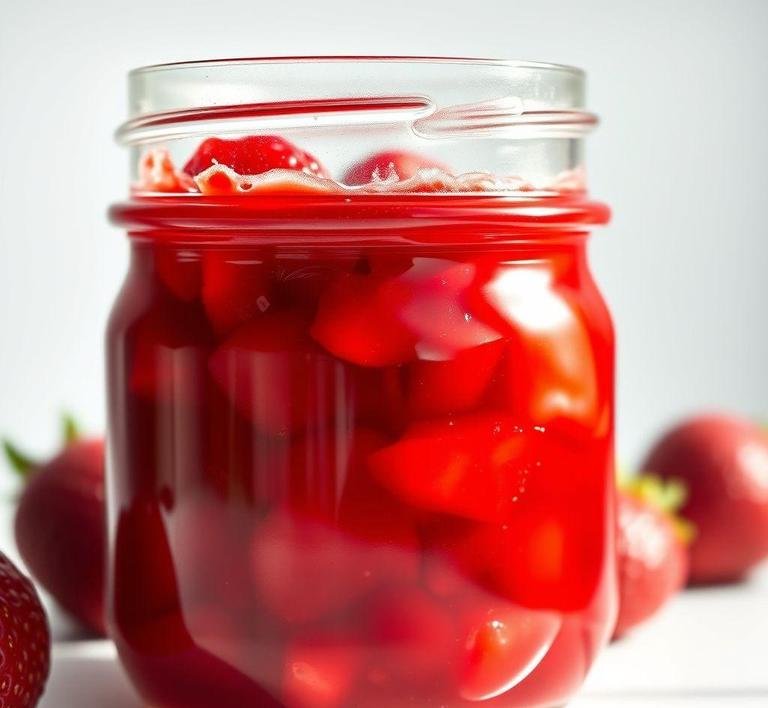
Nigella’s strawberry jam isn’t your average supermarket spread. It’s simple, luxurious and honest. like her best recipes always are. What makes it special isn’t just that it tastes like summer bottled up in a jar but that it brings with it a kind of quiet ceremony. You don’t rush jam. You let it unfold.
Her recipe uses just three ingredients: strawberries, sugar and lemon juice. That’s it. No pectin sachets or fancy tricks. It’s old-fashioned jam but made in a modern kitchen, the kind of thing that makes you feel like a domestic goddess even if your apron’s crooked and there’s flour on your face (and the cat).
The first time I made it, I was a little skeptical. Could something this simple really turn into jam? But then I saw the way the strawberries surrendered to the sugar, how the juice thickened into ruby silk and how my kitchen filled with that unmistakable scent. a blend of childhood memories and new beginnings.
Nigella Strawberry Jam Recipe
Ingredients Needed

Nigella doesn’t overcomplicate things. That’s one of the things I’ve always adored about her style. it’s generous, not intimidating. Here’s all you need:
- 1 kilogram of strawberries – hulled. Use the ripest you can find. Slightly overripe berries are perfect.
- 750 grams of granulated sugar. white, not brown.
- Juice of 2 lemons. freshly squeezed, no bottled stuff.
That’s it. No pectin. No preservatives. Just ingredients that make sense and know how to do their job when left alone.
A quick tip from my own trial-and-error process: if your strawberries are particularly juicy or soft, let them sit in the sugar and lemon for an hour or two before cooking. It draws out the juices and starts the magic early.
Equipment Needed
You don’t need an old copper preserving pan and a string of jars lined up like Victorian soldiers (though that would be fun). Here’s what I used the first time, cobbled together from my modest kitchen:
- A large, wide saucepan. preferably with a heavy base. The wide surface helps the jam set faster.
- A wooden spoon or heatproof spatula – for stirring.
- A candy thermometer – not essential but helpful. I’ve also done the cold plate test and it works just fine.
- Sterilised jars – about 4 to 5 standard 250ml jars. I just ran them through the dishwasher and let them dry in the oven at a low heat.
- A small saucer – popped in the freezer to test the setting point.
There’s something deeply satisfying about lining up your jars ahead of time, knowing they’ll soon hold something homemade. The first time I did it, I felt like I was prepping for a treasure hunt.
Instructions To Make Nigella Lawson’s Strawberry Jam
Here’s where the magic happens.
-
Prep the strawberries
Wash, hull and halve (or quarter if large) your strawberries. I like leaving some whole because I love chunky jam. the kind you can actually bite into.
-
Macération (sounds fancy, just means ’let it sit’)
Place the strawberries in your saucepan. Add the sugar and lemon juice, stir gently and let them sit for a while. I usually give it 30 minutes to an hour. The berries will glisten and a syrupy juice will start to gather. like the promise of something wonderful.
-
Bring to a boil
Place the pan over medium heat and stir occasionally until the sugar dissolves. Once it’s clear and glossy, crank the heat up and bring to a rapid boil. This is not a time for multitasking. Watch it. Stir occasionally. Let it bubble with joyful abandon.
-
Test for setting point
You’re aiming for about 105°C on the thermometer or use the wrinkle test: spoon a bit of jam onto your cold saucer, wait 30 seconds, then nudge it with your finger. If it wrinkles, it’s ready. If not, keep boiling and try again in a few minutes.
-
Pot it up
Carefully ladle your hot jam into warm, sterilised jars. Seal immediately. I love the ’pop’ sound as the jars cool and seal. it feels like applause from your kitchen.
-
Cool and label
Once completely cool, label them. I usually scrawl something like ’June Joy. 2025’ and add a little heart if I’m giving them away. (Okay, let’s be honest. I hoard most of them like dragon treasure.)
What I Learnt
Jam teaches you patience. It doesn’t ask for fancy gadgets or advanced skills but it does ask you to pay attention. It’s a kind of slow alchemy. turning soft fruit into something bright and bold, with a whisper of tartness from the lemon and that deep strawberry hug underneath.
I also learned that making jam connects you to something old and essential. the instinct to preserve, to hold onto fleeting things. Strawberries won’t last past the season but jam? Jam keeps. And sharing it feels like a secret passed down from hands much older and wiser than mine.
And let’s not ignore the sheer pleasure of spreading your own jam on toast, knowing every spoonful came from your own saucepan. It’s an edible form of pride.
FAQs
Can I Use Frozen Strawberries Instead Of Fresh In Nigella Lawson’s Jam Recipe?
Yes, you can! While fresh strawberries give that vibrant, fresh flavor, frozen ones will work just as well. Just be sure to let them thaw and drain any excess water before using them in the recipe. It’s a perfect hack for when strawberries are out of season, and the jam will still turn out delicious.
How Long Does It Take To Make Nigella Lawson’s Strawberry Jam?
It’s a pretty quick process! From start to finish, it should take around 1.5 to 2 hours. That includes the time to prep the fruit, simmer it, and get it to that perfect, jammy consistency. The actual hands-on time isn’t much; it’s mostly just letting the ingredients work their magic on the stove!
What Can I Do If My Jam Isn’t Setting Properly?
Don’t panic! Sometimes it just needs a little extra time or a higher heat to reach the right consistency. If it’s still runny, try boiling it a bit longer, testing with the spoon-and-chill method (put a spoonful on a chilled plate, let it cool, and run your finger through it – if it wrinkles, you’re good!). If that doesn’t work, adding a bit more pectin or lemon juice can help it firm up.


