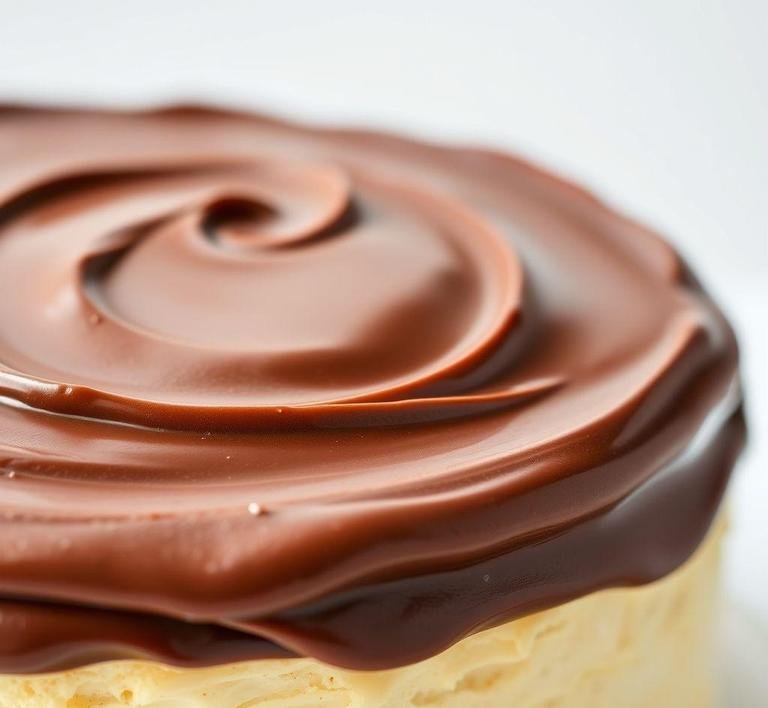
Let’s dive straight into the magic of this icing. Nigella Lawson’s Chocolate Fudge Icing is exactly what it sounds like- a creamy, fudge-like chocolate topping that coats cakes beautifully. It’s perfect for when you want to make a showstopper cake or when you need that rich, decadent layer that just elevates everything it touches. What sets it apart from other chocolate icings is the smooth, dense texture, almost like a silky chocolate ganache but with a slightly more spreadable consistency. It’s decadent, yes but it’s not overly heavy. Just the right amount of richness to complement a cake, not overpower it.
This icing doesn’t just sit on top, it embraces the cake. There’s something about the way it glides onto the surface that just feels indulgent, like a luxurious chocolate blanket. It’s the sort of thing that makes you want to skip the cake and just grab a spoon (I may or may not have done that a time or two).
Nigella Chocolate Fudge Icing Recipe
Ingredients Needed
Alright, so the ingredients. The beauty of this recipe is how simple it is-yet the flavor is next-level. Here’s what you’ll need:
- Butter (unsalted, of course): This is the creamy base of the icing. It gives it that silky texture and a rich, smooth finish.
- Golden syrup: A staple in British baking, this adds just the right amount of sweetness and a lovely depth of flavor. It’s like a more mellow, caramelized sweetness compared to corn syrup.
- Cocoa powder: You’ll want to use a good quality unsweetened cocoa powder. It’s the backbone of that deep chocolate flavor, so don’t skimp here.
- Dark chocolate: Now, this is where things get really good. The dark chocolate is melted into the mix, giving it a luxurious fudgy taste. I always go for around 70% cocoa content because it’s the perfect balance of rich, not-too-sweet and not overly bitter.
- Icing sugar: To sweeten things up and make the texture a little more spreadable. It’s important to sift it so you don’t end up with any lumps in the icing.
- Boiling water: This is just for melting the chocolate and bringing everything together into a smooth, pourable consistency.
That’s it! You probably already have most of these ingredients hanging around your kitchen which is always a win.
Equipment Needed
There’s not much you need in the way of equipment either. It’s a recipe that doesn’t require fancy tools which is part of the charm. Here’s what you’ll need:
- Saucepan: For melting the butter, golden syrup and chocolate. A medium saucepan works best and you’ll want to melt everything gently over low heat.
- Mixing bowl: To combine everything once the melted mixture has cooled down a bit.
- Spoon or spatula: To stir and get all that fudgy goodness well mixed.
- Sieve: To sift the icing sugar (just trust me, it makes the world of difference when you want that silky smooth texture).
- Whisk (optional): If you want to get really fancy and ensure everything is perfectly smooth.
Instructions To Make Nigella Lawson’s Chocolate Fudge Icing
Now, let’s get to the fun part. making the actual icing. I can already smell the chocolate as I write this!
- Start by melting the butter, golden syrup and dark chocolate in a saucepan over low heat. You want to be patient here. let everything melt slowly, stirring occasionally, until it’s a silky, smooth mixture. It’s like chocolate lava and it’s tempting to dive right in with a spoon but hold off for a second.
- Once it’s melted, remove the pan from the heat. Now, sift your icing sugar into a mixing bowl. This step helps to keep the icing smooth and lump-free. You’ll then pour the melted chocolate mixture into the bowl with the icing sugar and mix it all together with a spoon or spatula.
- Add the boiling water slowly, just a little at a time. Keep stirring until everything is well combined and you have a glossy, fudgy icing. The texture should be thick but spreadable. You don’t want it running off the cake like a flood but you also don’t want it to be too stiff. If it’s a bit too thick, just add a tiny bit more boiling water to loosen it up.
- Let it cool for about 5-10 minutes so it thickens up a bit more. Don’t rush this step or it might slip off the cake too quickly. Once it’s at the right consistency, you’re good to go!
- Spread generously over your cake, letting it fall naturally into the sides. You can even use a spatula to create a smooth, glossy finish or leave it a bit more rustic and textured if you like.
What I Learnt
Honestly, the first time I made Nigella’s Chocolate Fudge Icing, I thought I’d messed up. The mixture looked a little too runny and I was worried it wouldn’t set. But then as it cooled, it became this glorious, fudge-like texture that just stuck perfectly to the cake. It was a beautiful mess of rich chocolate and the best part was how much of the icing I could actually taste. you know, rather than it just being an afterthought to the cake itself.
Another thing I learned is how forgiving the icing is. If you make a mistake, it’s not the end of the world. Too runny? Just let it sit for a minute to thicken up. Too thick? A little splash of hot water fixes that right up. Even if the icing isn’t perfectly smooth, it still tastes amazing. It’s the kind of icing that makes you want to dive right into the bowl with a spoon and not care about the cake at all.
FAQs
How Long Does Nigella’s Chocolate Fudge Icing Take To Set?
It usually takes about 30 minutes to an hour to set, depending on how thick you apply it. If you want it to firm up quicker, pop the cake in the fridge for a bit. Just be careful not to let it get too cold, or it might become hard to spread.
Can I Make Nigella’s Chocolate Fudge Icing In Advance?
Absolutely! You can make it a day or two ahead. Just store it in an airtight container at room temperature, and when you’re ready to use it, give it a quick stir to smooth it out. If it’s too thick, add a touch more cream to get the right consistency.
Can I Substitute The Cream In Nigella’s Chocolate Fudge Icing With Something Else?
You can use milk or even a plant-based cream if you want a dairy-free version. Keep in mind, though, that cream gives the icing its silky, rich texture, so alternatives might slightly alter the mouthfeel, but it will still taste amazing.