The first time I made Nigella Lawson’s Christmas Rocky Road, I was elbows-deep in wrapping paper and to-do lists, caught in the swirl of festive chaos. I wanted something indulgent and comforting – but quick. Enter Nigella’s Rocky Road: a no-bake miracle that tastes like you spent hours, when in reality, it’s done before the kettle boils for your second cup of tea.
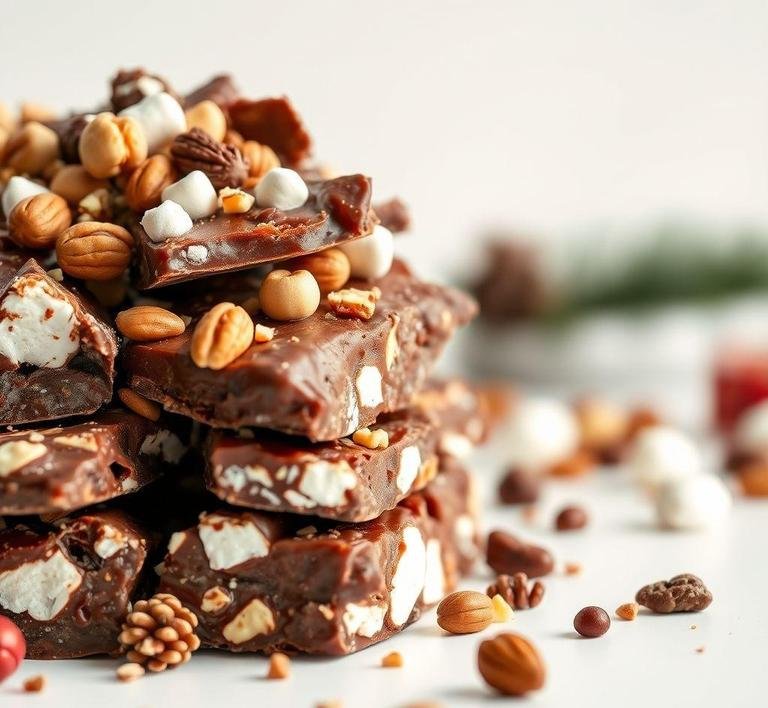
This isn’t just your average rocky road. Nigella’s version is a jubilant pile-up of nostalgia and indulgence. chocolatey rubble studded with festive red glacé cherries, crunchy amaretti biscuits and snowy sprinkles of icing sugar. It’s a dessert that doesn’t just taste like Christmas, it feels like it – warm, cheeky and joyfully over-the-top. Imagine eating the holidays. That’s what this is.
Nigella Xmas Rocky Road Recipe
Ingredients Needed
Before you start, gather everything. Trust me – once the chocolate starts melting, things move fast.
The Essentials
- 300g dark chocolate (minimum 70% cocoa solids). this is your flavor backbone. Use the good stuff.
- 150g milk chocolate – balances out the dark richness, gives that smooth, sweet edge.
- 175g soft butter – unsalted. This isn’t the time to skimp on richness.
- 4 tablespoons golden syrup. gooey and glorious, it brings everything together.
- 200g amaretti biscuits – crunchy and slightly bitter, perfect contrast to all the sweetness.
- 150g red glacé cherries – think stained-glass windows in a chocolate cathedral.
- 125g Brazil nuts (or mixed nuts). they add texture and toastiness.
- 150g mini marshmallows – little pillows of softness hiding in every bite.
- Icing sugar, to dust. that finishing snowy flourish.
When I first made this, I substituted amaretti with digestive biscuits and while it still worked, the amaretti’s almond punch is chef’s kiss. So if you can find them. go for it.
Equipment Needed
This is blissfully low-tech. You don’t need any fancy stand mixers or blowtorches.
- Large heatproof bowl (for melting chocolate over simmering water)
- Saucepan (to create a bain-marie)
- Spatula or wooden spoon
- Knife and chopping board
- Mixing bowl
- 20cm square tin (or similar). lined with cling film or baking parchment
- Fridge space (this is key. you need chilling time)
- Sieve (for the icing sugar snow at the end)
I use an old, battered tin my mum gave me. It’s a bit warped and stained but it’s part of the ritual now.
Instructions To Make Nigella Lawson’s Xmas Rocky Road
Set aside about 20-30 minutes for prep and then patience (fridge time). It’s the perfect make-ahead treat.
Step 1: Melt The Chocolate Magic
Start by gently melting your dark and milk chocolate with the butter and golden syrup in a bowl over barely simmering water. Stir occasionally. Don’t let the water touch the bowl. chocolate’s a diva and will seize if treated badly.
There’s something meditative about watching chocolate turn from blocks into silk. I always breathe slower during this step. Feels like a pause.
Step 2: Smash And Chop
While that’s melting, crush the amaretti biscuits into uneven pieces. I put them in a freezer bag and give them a few satisfying whacks with a rolling pin. Chop the Brazil nuts roughly. Slice the glacé cherries in half if you like. I keep some whole for drama.
Step 3: Combine The Joy
Once the chocolate mix is smooth and glossy, take it off the heat. Let it cool slightly (important! So you don’t melt the marshmallows too much). Stir in the crushed biscuits, nuts, cherries and marshmallows. Mix until everything’s coated in chocolate and it starts looking like edible rubble.
This part always makes me feel like I’m building a dessert sculpture. Messy. Joyous. Festive.
Step 4: Into The Tin It Goes
Tip the mixture into your lined tin. Press it down gently with a spatula to even it out. Don’t flatten it too much. you want that wild, rocky texture.
Cover and pop it in the fridge for at least 2 hours (overnight is even better. the flavors meld like old friends).
Step 5: Snowy Finish
Once it’s set, lift it out and cut it into generous slabs or little festive squares. Sift icing sugar over the top like it’s just snowed on chocolate mountain peaks.
What I Learnt
Every year I make this, I learn something new. The first time, I learned that desserts don’t have to be complicated to be impressive. One Christmas Eve, I learned that my uncle, who claims to dislike all "non-traditional desserts," polished off half the tin before anyone else got a look-in. Another time, I discovered that my kids love helping crush the biscuits. it became a mini ritual.
But mostly, I learned that this rocky road is more than the sum of its parts. It’s about giving yourself a break. It’s indulgent, yes – gloriously so. But it’s also about slowing down, sneaking a square with your morning coffee or gifting a tin to someone who really needs a moment of sweetness.
FAQs
What Makes Nigella Lawson’s Christmas Rocky Road Recipe Special?
Nigella’s Christmas Rocky Road is a true holiday treat-it’s not just about the flavor, but also about the feeling. It’s packed with festive ingredients like cranberries, nuts, and mini marshmallows. What really makes it special, though, is that it’s ridiculously easy to make! You get that gorgeous chocolatey crunch with a perfect balance of sweetness and a touch of holiday spice, and it doesn’t take a ton of effort, making it the perfect gift or addition to your dessert table.
Can I Customize The Ingredients In Nigella’s Rocky Road?
Absolutely! That’s one of the best things about this recipe. You can switch up the nuts (almonds, pistachios, or even hazelnuts), swap the cranberries for dried cherries, or even throw in some crushed candy canes for a peppermint twist. Personally, I love adding some orange zest to give it a little citrus zing-it balances the chocolate richness really well.
How Far In Advance Can I Make Nigella’s Christmas Rocky Road?
You can make it a few days in advance, which is perfect for busy holiday prep! Just let it set and then keep it stored in an airtight container. I’ve actually found it tastes even better after a day or two as the flavors meld together. Plus, if you’ve got a lot of people to feed, this is one of those desserts that keeps well and doesn’t dry out-so you’re not stuck last minute trying to make a batch right before guests arrive!